


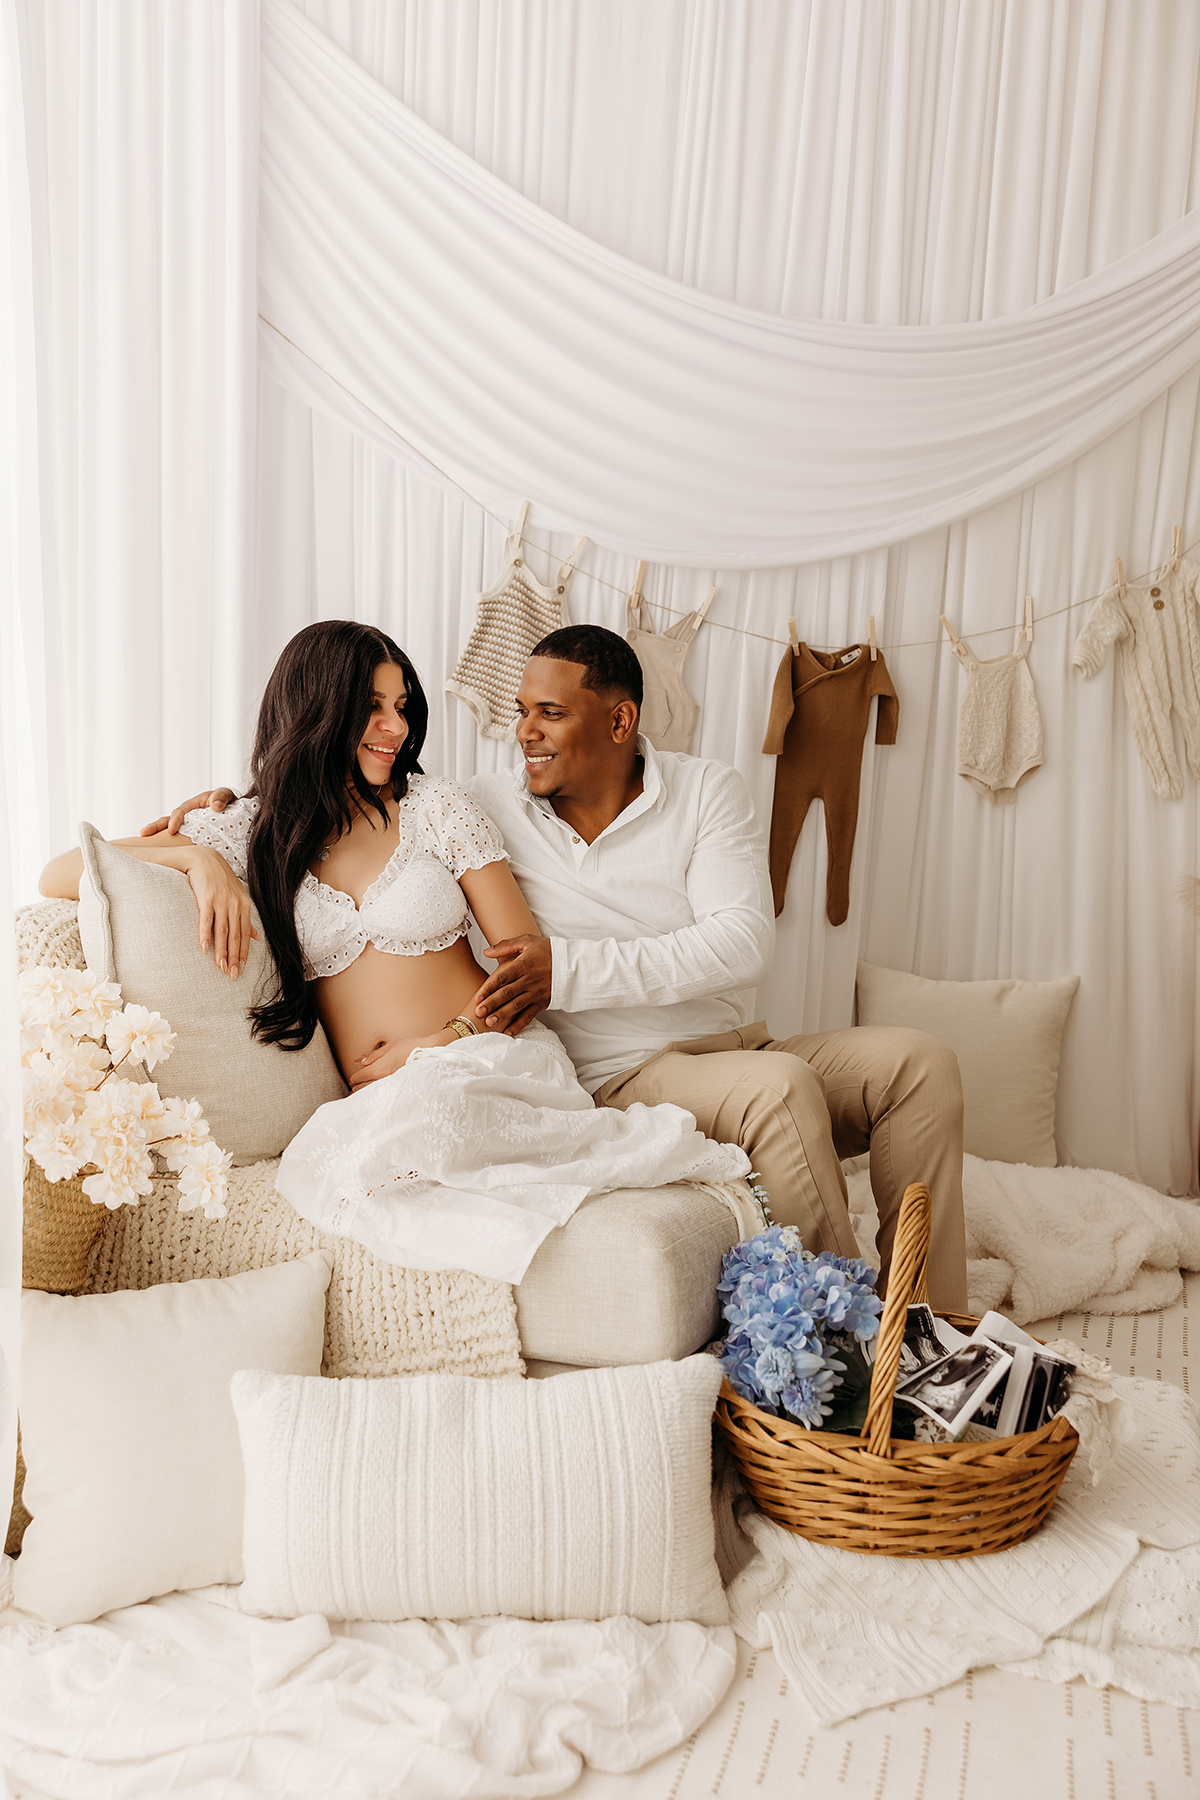
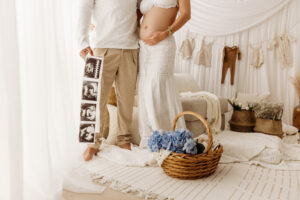
If you’ve ever wondered how I built my LED light wall, you’re not alone. It’s one of the most asked questions I get from photographers walking into my studio or finding me online. This wall completely transformed the way I shoot. It gives a soft, controlled glow that feels high-end and lifestyle without needing multiple complicated lighting setups. When I moved into my new studio in the spring of 2025, I no longer had a natural light shooting area. My previous studio had a gorgeous natural light space, and naively, I thought I would be fine without one.
I wasn’t.
I missed the way I could move, shoot, and create in that space. I needed something that gave me that same freedom again. Without relying on actual window light.

The biggest mistake I see photographers make is thinking an LED light wall is just lights on a wall. It’s not. It’s a layered build that controls how light spreads, diffuses, and wraps around your subject. And I learned that the hard way. I built this wall more times than I want to admit. I tried different lights, different paint colors, different layouts. Honestly, I hated most of it. The entire first year felt like constant trial and error.

But I had seen too many beautiful LED walls to believe I couldn’t figure it out.
So I kept going.
LED Light Wall Mistakes
Mistakes were made. Money was wasted. And plenty of bad words were said.
At first, I underestimated how many lights I actually needed. That forced me to raise my ISO, which led to noisy images. Something I absolutely won’t tolerate in my work. Then there was the spacing issue. Because my layout was too wide and not dense enough, my light dropped off way too quickly. The left side looked beautiful, but the right side of my shooting area fell dark.
If I tried to fix it in post, I ended up with blown highlights on one side and acceptable exposure on the other.It didn’t work. None of it worked. Eventually, I tore the entire wall down. And if I’m being honest… that part was defeating. The lights sat unused for months before I had the energy to start again.

What Finally Changed Everything
When I rebuilt my LED light wall, I stopped guessing.
I focused on:
- Proper light density
- Controlled spacing
- True diffusion (not just softening – actual control)
- Even spread across the entire wall
And that’s when it finally clicked. The light became consistent. Clean. Directional without being harsh. It gave me that natural-light feel back. And this time it’s better, because now I could control it.

What You’ll Need to Build an LED Light Wall
If you’re starting to plan your own LED light wall, here’s a general list of what goes into it:
- LED lights (output matters more than you think)
- A solid backing surface
- Diffusion material
- Power supply + connectors
- Mounting materials
- A finishing surface (paint, paneling, etc.)
That’s the foundation.
But here’s where most people get stuck (at least I did)
What No One Tells You About Building An LED Light Wall
Having the materials is one thing.
Knowing how to actually lay it out, space it, diffuse it, and make it photograph correctly is something completely different.
This is where almost every DIY LED light wall goes wrong.
Because:
- Too much spacing = uneven light
- Not enough density = you’re forced to crank ISO
- Wrong diffusion = visible strip lines
- Poor layout = light falloff across your frame
And unfortunately… you usually don’t realize it until you’ve already built it.
(like I did…multiple times.)
If You Want It Done Right the First Time
After rebuilding this wall over and over, I realized the hardest part isn’t buying the materials.
It’s knowing exactly:
- How close everything needs to be
- How to control the spread of light
- How to avoid falloff across your shooting space
- How to make it actually photograph the way you want
That’s not something a quick list can teach.
So instead of creating a one-size-fits-all guide, I offer mentoring for photographers who want to build this the right way for their space.
Because every studio is different. And your layout should be too.
Don’t need help? Here’s what I used.
If you’re someone who loves to figure things out on your own, I get it. I’m the same way.
Here’s a general list of what I used to build my LED light wall:
- LED Panels https://amzn.to/4mqd4O4
- Diffusion material https://amzn.to/4cERVw7
- Power supply and connectors https://amzn.to/4cERVw7
- Curtain Rod https://amzn.to/423NhSg
- Drapes – I found the perfect ones for you! No more searching through Amazon https://shanynnicolestudios.bigcartel.com/product/the-heirloom-white-draping-set
- Smal Preset for Editing
- The couch is a mid piece for a sectional from a local furniture store
- V Flats https://amzn.to/4cCt0cC
That’s the foundation.
Just know that how these pieces come together is what makes or breaks the final result. The layout, spacing, and diffusion are what actually create that soft, even light.
If you want to learn how to make the LED light wall work in your studio with 1 on 1 mentoring – send me a message and we will chat!


